This document is a step-by-step guide explaining the steps required to create Email Moments in ChangeEngine.
Creating Email Moments with ChangeEngine is an essential part of the system, as it allows users a quick and easy way to create communication with employees. By sending Email Moments via work or personal email, users can ensure that their messages are seen and received by the right people at the right time.
Pro Tip: Work emails are great for most types of communications, while personal emails are ideal for communicating with people prior to onboarding.
Step 1. Login to your ChangeEngine Account
If you don't yet have a ChangeEngine account, let's get in touch! Otherwise, open your preferred browser and go to app.changeengine.com to log in.
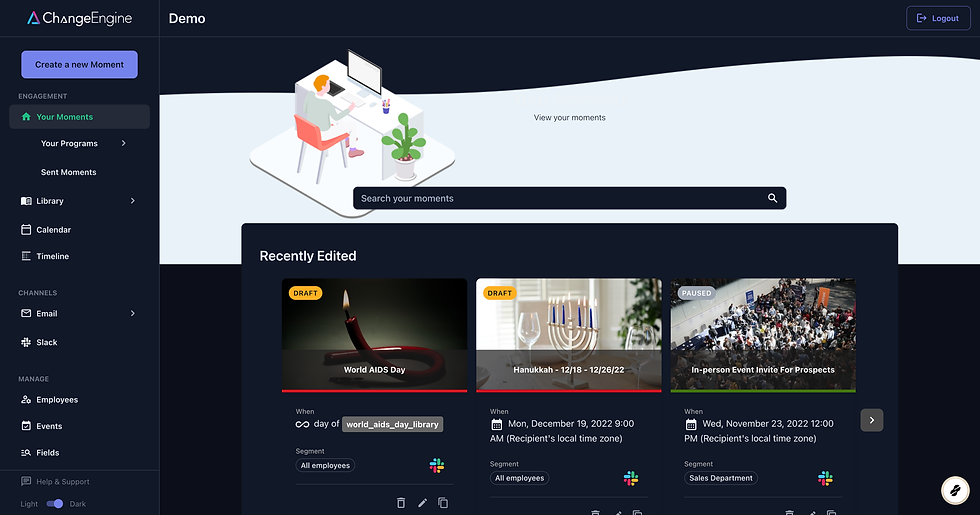
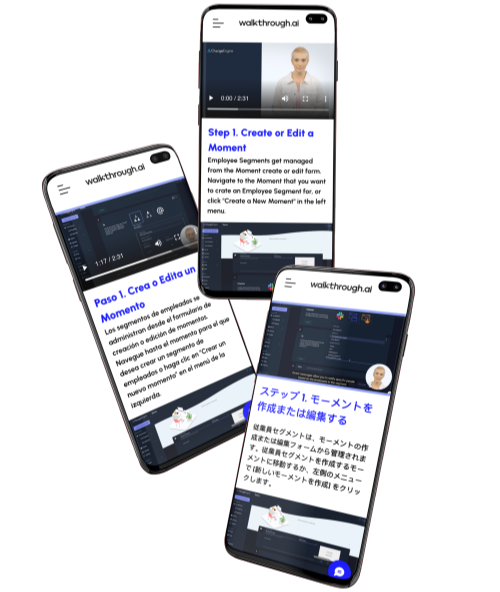
Step 2. Click on Create a new Moment
Once logged in to your account, click on the 'Create a new Moment' button at the top left of your screen. This will open a form page where you can create and configure your Moment.

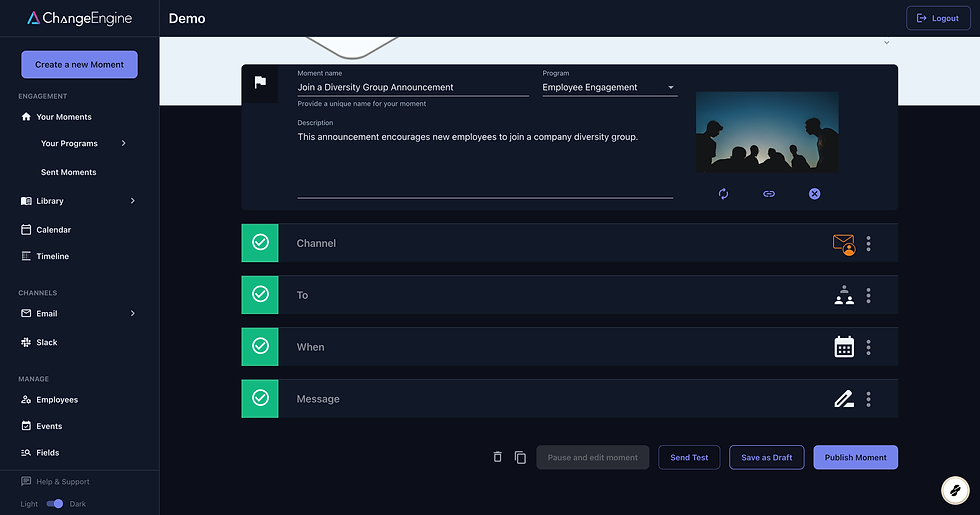
Step 3. Name the Moment
Give your Moment a unique and descriptive name, as this will help you to identify and track it later on. For example, you might name your Moment 'Join a Diversity Group Announcement' if you are creating a Moment to share information about new diversity groups within your company.

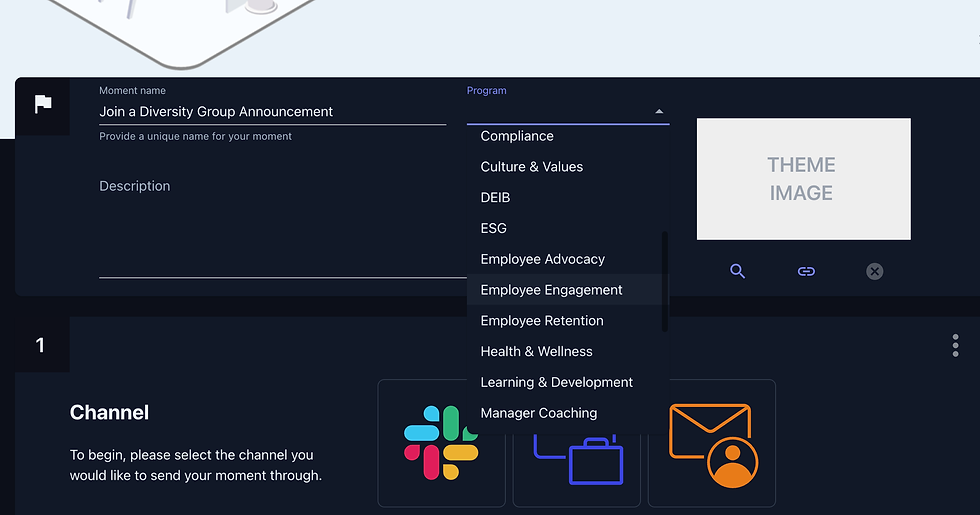
Step 4. Select a Program
Programs help you stay organized and track which Moments are associated with different projects and initiatives. Select the appropriate program for this Moment from the drop-down menu.
Step 5. Provide and Image Description
Descriptions and images are optional, though encouraged. Especially when working on larger teams, writing a description will help others understand the purpose or intent behind a Moment.

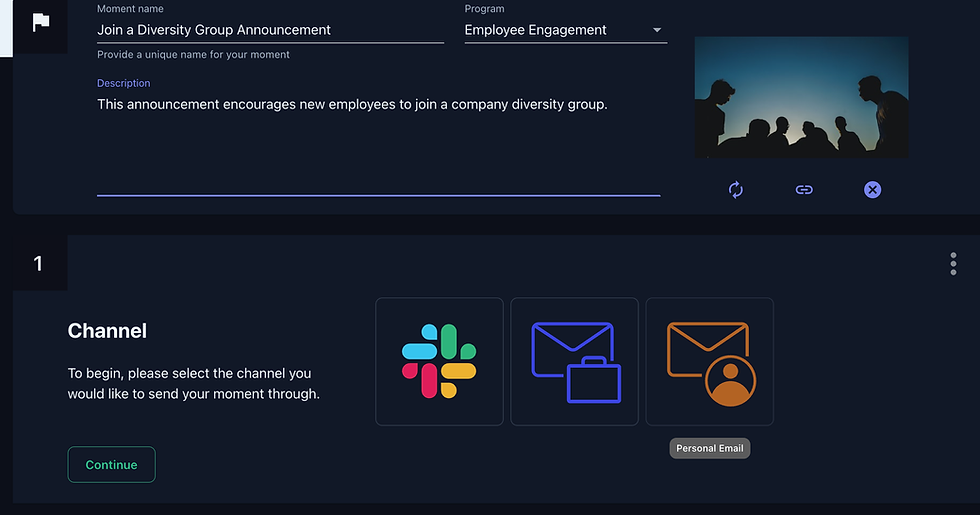
Step 6. Choose a Channel
There are three primary channels for sending Moments with ChangeEngine: Slack, personal email, and work email.
-
Slack is an excellent option for quickly sharing simple updates or announcements with the team without having to craft a full message or organize an email list.
-
Personal Email is ideal for connecting with individuals before onboarding or even clients.
-
Work Email is the preferred channel for the majority of communications.
Go ahead and select the most relevant channel for your use case, then click "Continue."
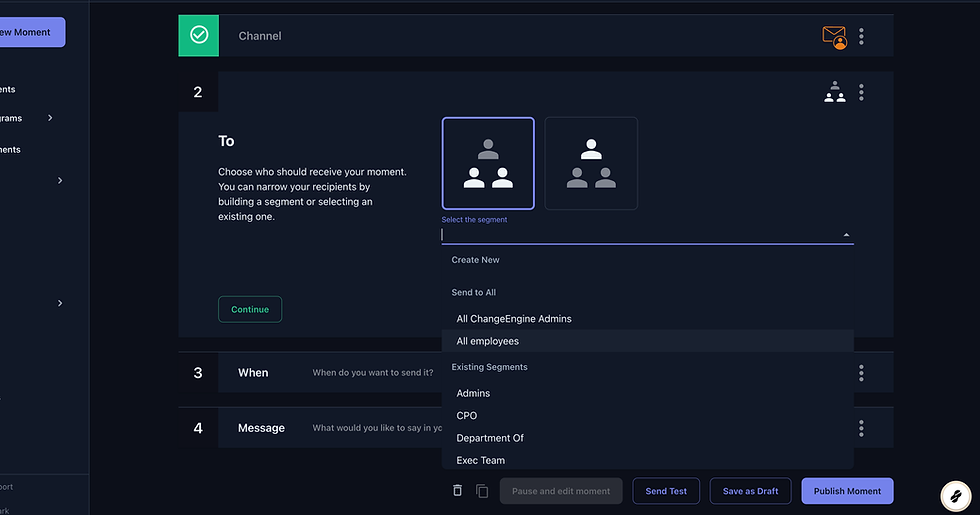
Step 7. Create or Set a Segment
A Segment allows you to choose who should receive your moment. You can narrow your recipients by building a segment or selecting an existing one. A cool feature of Segments is that you can specifically create a segment of employees or the managers of a segment of employees, all using dynamic and powerful filters.
We'll dive deeper into segments in another walkthrough. However, let's go ahead and select an existing segment called "All Employees" for this Email Moment.
Once selected, go ahead and click "Continue".
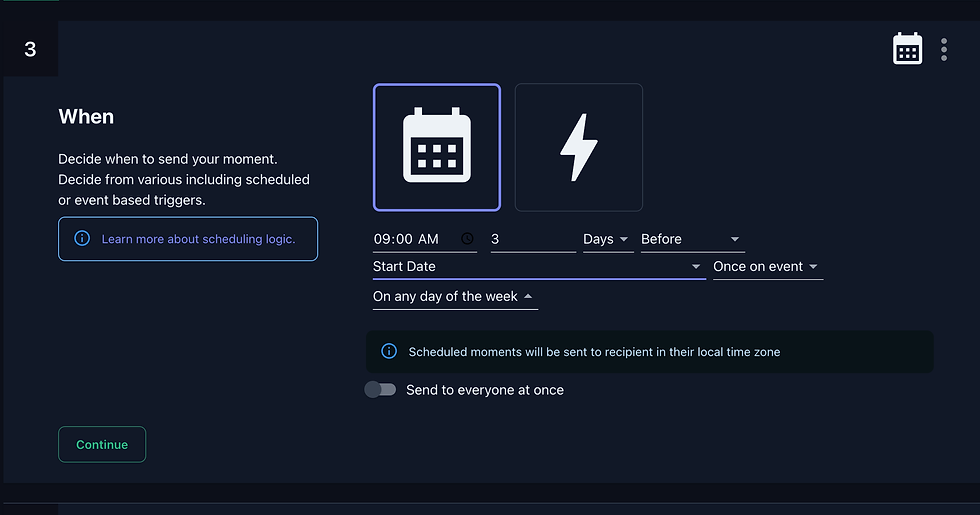
Step 8. Schedule the Email Moment
When scheduling an Email Moment with ChangeEngine, you can choose between sending immediately and customizing the scheduled send time with advanced filters.
For example, you can set a specific date and time for the Moment to be sent out, a general date range, or even a dynamic time based on an employee field value. Here, we'll send the moment at 9:00 AM (recipient's local time), 3 days before their start date.
Once done, click "Continue."
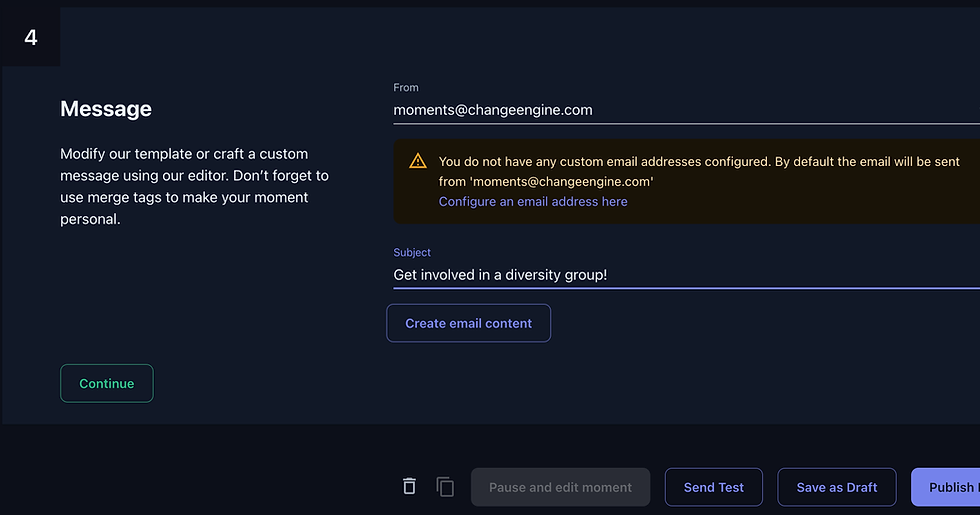
Step 9. Set a Sender and Subject
If you've configured a custom email address, you will be able to set a custom "From" sender for the Email Moment. Otherwise, ChangeEngine will handle it and send out Moments from moments@changeengine.com. Use the From select input to update the sender.
We'll also need to set a subject line for the Email Moment. This will be used for the subject line in your email. Use the Subject input to author your subject line.
Once done, click the "Create email content" button below the Subject input.
Step 10. Customize and Style the Email Moment
While in other walkthroughs, we'll dive deeper into using the email editor, know that you can use the following:
-
Column Layouts
-
Typography customization
-
HTML Embeds
-
Buttons and Links
-
Images and Videos
-
Dynamic data (merge tags)
Go ahead and customize your Email, and once done click "Save Content."

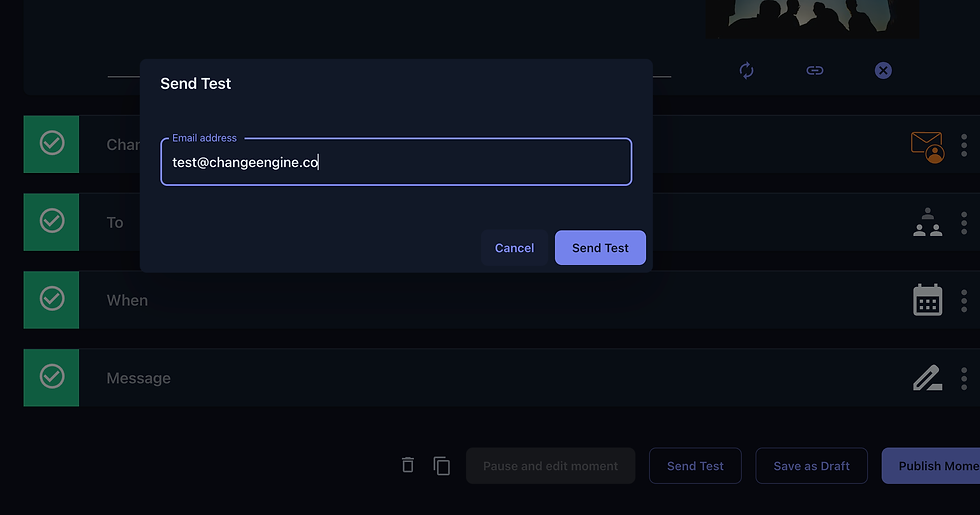
Step 11. Save and Test
Step 12. Publish your Email Moment!
Conclusion
In this step-by-step guide, you learned how to create Email Moments in Change Engine. Email Moments are an important tool for businesses that use ChangeEngine to create automated emails that send instantly or are triggered at specific times to engage customers or other stakeholders. By creating moments for their emails, businesses can ensure their messages reach the right people at the right time.
To dive deeper into related topics, please review our other guides and tutorials!
Comments